 tap
tap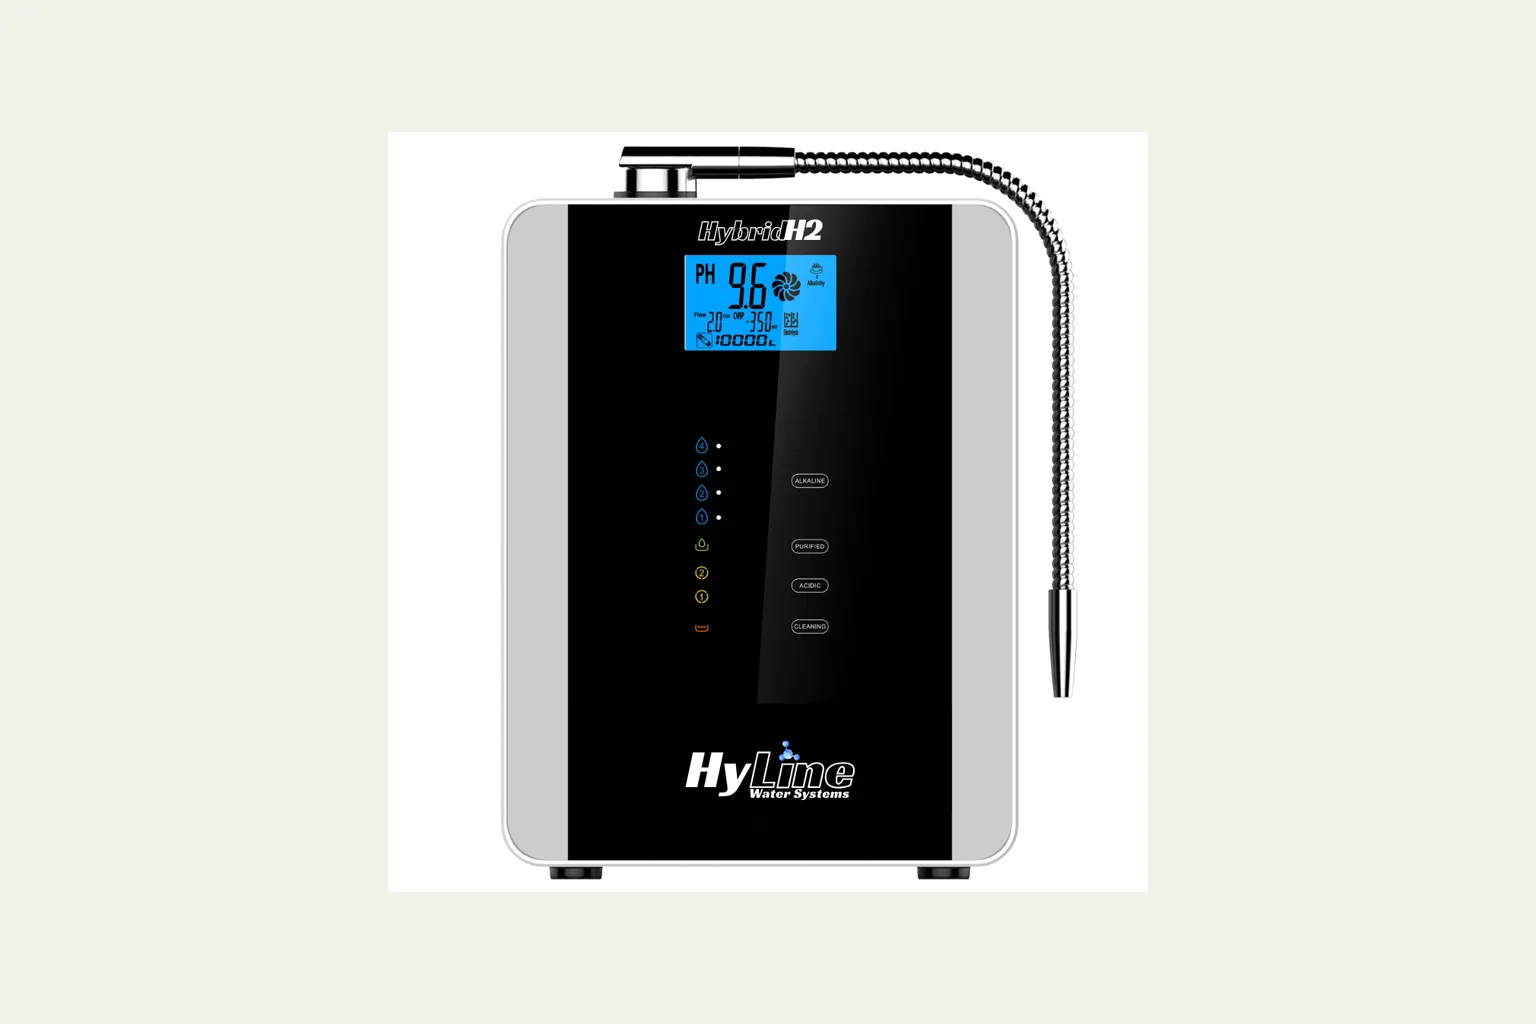
Our recommendation
The Hybrid H2 can connect to a dedicated drinking-water faucet, many standard faucets with a removable aerator, or a universal clamp-style adapter. Pull-down, pull-out and unusual faucets may need an inline diverter or the separate under-counter faucet kit. Confirm the exact route from faucet photos before ordering; do not assume the box fits every kitchen tap.
The decision at a glance
Choose the connection before you order
Countertop
- Dedicated drinking-water faucet→
- Standard removable-aerator faucet→
- Universal clamp-style adapter
Hidden installation
- Under-counter faucet kit→
- Cabinet space and access→
- Professional installation plan
| If this sounds like you | Best next move | What decides it |
|---|---|---|
| Separate drinking-water faucet with a removable tip | Use HyLine’s dedicated-faucet adapter route | Confirm the adapter seats securely and the supply can remain on as instructed. |
| Standard fixed faucet with removable aerator | Assess the included diverter | Match the thread or supplied adapter before opening the machine. |
| Pull-down, pull-out or nonstandard faucet | Ask about inline or under-counter installation | Get the exact extra parts and installation cost in writing. |
In this guide
- The four routes in plain English
- Option 1: existing dedicated drinking-water faucet
- Option 2: standard faucet with removable aerator
- Option 3: universal rubber adapter
- Option 4: pull-down, inline or under-counter installation
- Do not forget the drain hose and power
- The five photos to send before ordering
- Installation mistakes that turn into buying problems
- Your final compatibility check
- Sources & editorial notes
The four routes in plain English
HyLine’s supplied guide documents three countertop routes and names two additional options for kitchens those routes do not suit. For planning, group them into four decisions: use a dedicated drinking-water faucet, attach a diverter to a standard faucet, use the universal rubber adapter, or build a separate inline or under-counter connection.
The first three leave the machine on the counter and use the flexible spout on top. The under-counter route can hide the machine and use HyLine’s separate dedicated faucet. None is automatically best; the faucet construction, available space and preferred appearance decide the route.
| Route | Best starting situation | Main check |
|---|---|---|
| Dedicated drinking-water faucet | An existing small filter or RO faucet | Removable tip and secure quarter-inch feed connection |
| Standard faucet diverter | Fixed faucet with removable aerator | Thread fit and clearance for the diverter |
| Universal rubber adapter | Faucet end not matching the standard diverter | Diameter, grip and secure hose-clamp fit |
| Inline or under-counter | Pull-down faucet or hidden-install preference | Exact kit, cabinet plan and professional scope |
See current HyLine Water Systems options ↗ · See current HyLine Water Systems options ↗
Option 1: existing dedicated drinking-water faucet
The HyLine instructions say to remove the tip or aerator from the dedicated faucet, slide the white adapter over the end and insert the quarter-inch inlet tube. This route does not use the metal diverter supplied for a standard kitchen faucet.
Do not confuse an existing filtered-water faucet with proof that the upstream system suits an ionizer. Identify what currently feeds that faucet, its pressure and whether leaving it open for the HyLine connection is appropriate. If another filter remains upstream, include its replacement schedule in the ownership plan.
Ask HyLine to confirm the connection from a photograph of the faucet with a ruler for scale. A similar-looking spout can still have a different end shape.
Option 2: standard faucet with removable aerator
For a traditional fixed faucet, the instructions remove the aerator and thread on the included diverter. If the diverter thread does not match directly, an included thread adapter may bridge the difference. The quarter-inch inlet tube then attaches to the side fitting with a compression nut.
This is the route many buyers imagine when they see a countertop ionizer. Check the actual aerator first. Recessed or proprietary aerators, damaged threads and decorative faucet ends can defeat the assumption. Do not force a metal adapter onto uncertain threads.
Daily use involves turning on the faucet and moving the diverter lever to send water to the machine. Make sure everyone in the household is comfortable with that routine and the diverter does not interfere with normal sink use.
Option 3: universal rubber adapter
HyLine’s third documented route uses a rubber adapter with removable inner inserts. The buyer selects the closest size, pushes it over the faucet end, secures it with a hose clamp and threads the diverter onto the bottom. This helps when the standard threaded connection does not fit.
“Universal” does not mean every shape. The faucet end still needs a suitable surface and diameter for the rubber adapter to grip. A tapered, oversized or moving spray head may remain unsuitable. Ask HyLine to judge the photo rather than buying on the word universal alone.
After installation, follow the current instructions for checking connections and operating the machine. If the adapter moves, leaks or obstructs the sink, stop and resolve the fit instead of tightening improvised parts.
Option 4: pull-down, inline or under-counter installation
Pull-down and pull-out faucets often need a different approach because the spray head moves and may use proprietary fittings. HyLine’s guide mentions an inline diverter kit for many of these faucets. The exact kit and connection should come from HyLine’s support advice for your faucet and plumbing.
The separate under-counter ionizer faucet is currently $249.95 and comes in matte black, chrome and brushed nickel. HyLine says it works with Glacier and Onyx machines and recommends professional installation. The machine and optional prefilters can then sit in the cabinet rather than on the counter.
Treat this as a small plumbing project. Confirm the faucet hole, countertop material, cabinet footprint, filter-change access, outlet location, tubing path and acidic-water outlet. Ask the installer to state all drilling and fittings in the quote.
Do not forget the drain hose and power
The water inlet is only half of the countertop setup. HyLine’s assembly instructions connect a larger gray hose to the OUT port and place its open end in the sink. That hose carries the acidic stream produced during operation. Plan a stable, obvious position where it will not fall out or send water outside the basin.
The machine also plugs into a standard electrical outlet. Choose a location that follows the current electrical and product instructions and keeps power components away from water exposure. If the outlet arrangement is uncertain, use a qualified professional rather than an extension-cord workaround.
A clean counter photo in marketing material does not show every operational detail. Recreate the likely tubing, hose and power route in your own kitchen before deciding the layout is acceptable.
The five photos to send before ordering
HyLine’s installation material says support can often recommend a method from a simple faucet photo. Give them enough context to answer precisely. One close-up without the surrounding sink may hide the obstacle that matters.
Ask the reply to name the route, adapter or kit and whether it is included. Save that answer with the order. This is especially important because the current return policy does not allow an ordinary return after the unit has been connected, powered or exposed to water.
- Whole faucet and sink from the front
- Faucet end or spray head close-up
- Aerator removed, only if it comes off normally
- Space beside the sink and route to the outlet
- Cabinet interior if considering inline or under-counter installation
Installation mistakes that turn into buying problems
The most expensive mistake is opening and installing before compatibility is settled. The second is buying the under-counter faucet without checking the drilling surface and cabinet service space. The third is solving the faucet connection while forgetting the outlet and acidic-water path.
Do not use a force-fit adapter, drill an unfamiliar surface or change plumbing simply to preserve a DIY plan. A short professional visit can be cheaper than damaged threads, a cracked countertop or a machine placed where its filters cannot be serviced.
Finally, keep source-water suitability separate from faucet suitability. A perfect adapter does not make unsuitable water appropriate for the ionizer.
Your final compatibility check
You are ready to order only when you know the named installation route, every extra part, where the machine will sit, where the gray hose will drain and how the unit will reach a suitable outlet. If the answer contains “probably,” get one more written confirmation.
For an under-counter setup, add a drawing or marked photo to the plumber’s quote. It should show the machine, optional prefilters, dedicated faucet and service access. That turns a product purchase into a workable kitchen plan.
Put this guide to work
Compare the complete ownership cost
Use the free tool, then download a record you can keep. No email required.
Open the tool →Get the editable pack →Sources & editorial notes
Research-only compatibility guide based on HyLine’s supplied assembly and installation instructions and current accessory, warranty and return pages. It is not a plumbing installation manual.
- HyLine: Hybrid H2 product specifications and current price
- HyLine: under-counter ionizer faucet
- HyLine: five-year limited warranty terms
- HyLine: returns and refunds policy
Product details can change. Confirm the exact model and current terms before ordering. How we write and update guides.